How to deploy Appypie’s chatbot widget in Line?
By Abhinav Girdhar | Updated on January 10, 2022, 10:39 am
Following are the Steps to deploy Appypie’s chatbot widget in Line:
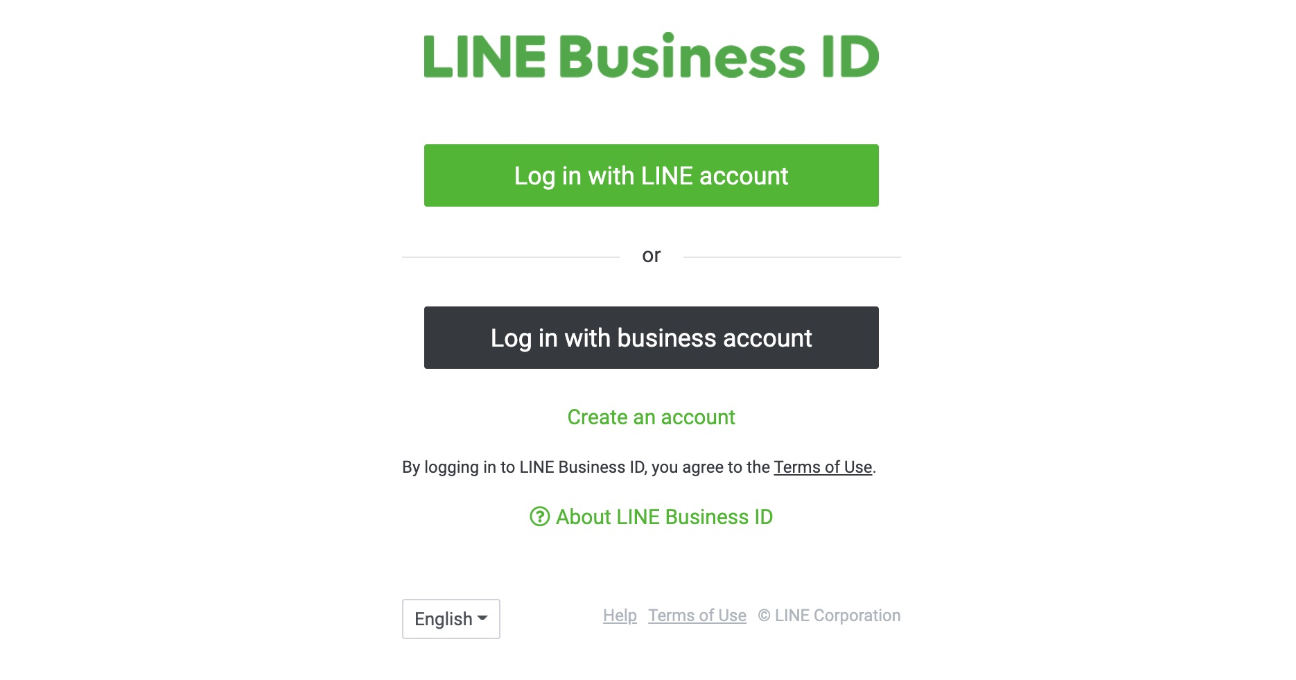
Step 1: Log in to Line
-
Log in to the LINE using your credentials or through the QR code. Click the ‘Log in with LINE account’ or ‘Log in with Business account’ button:
![]()
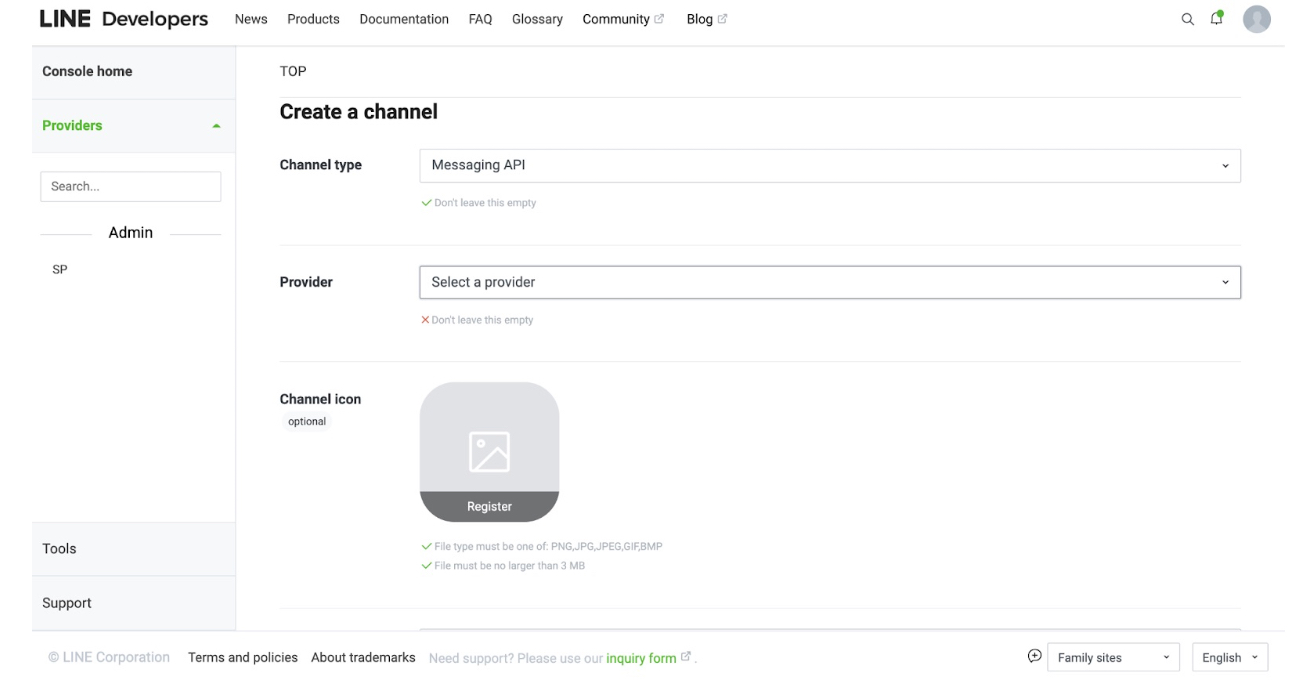
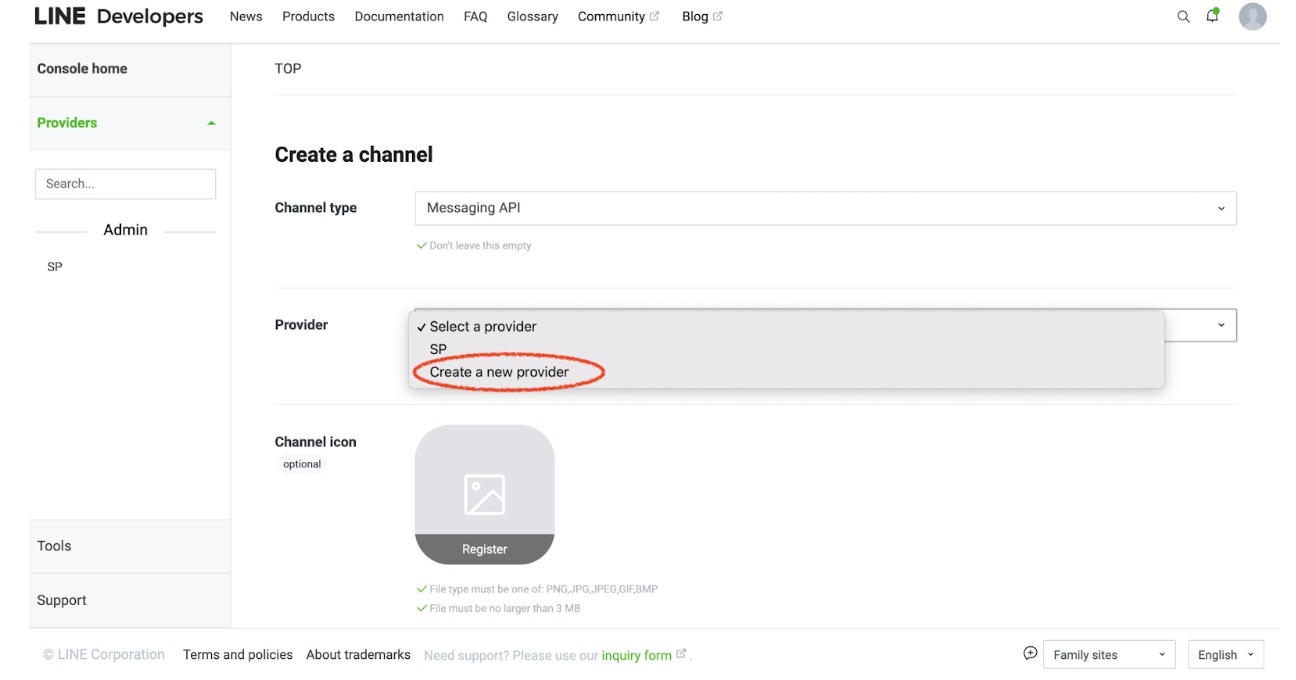
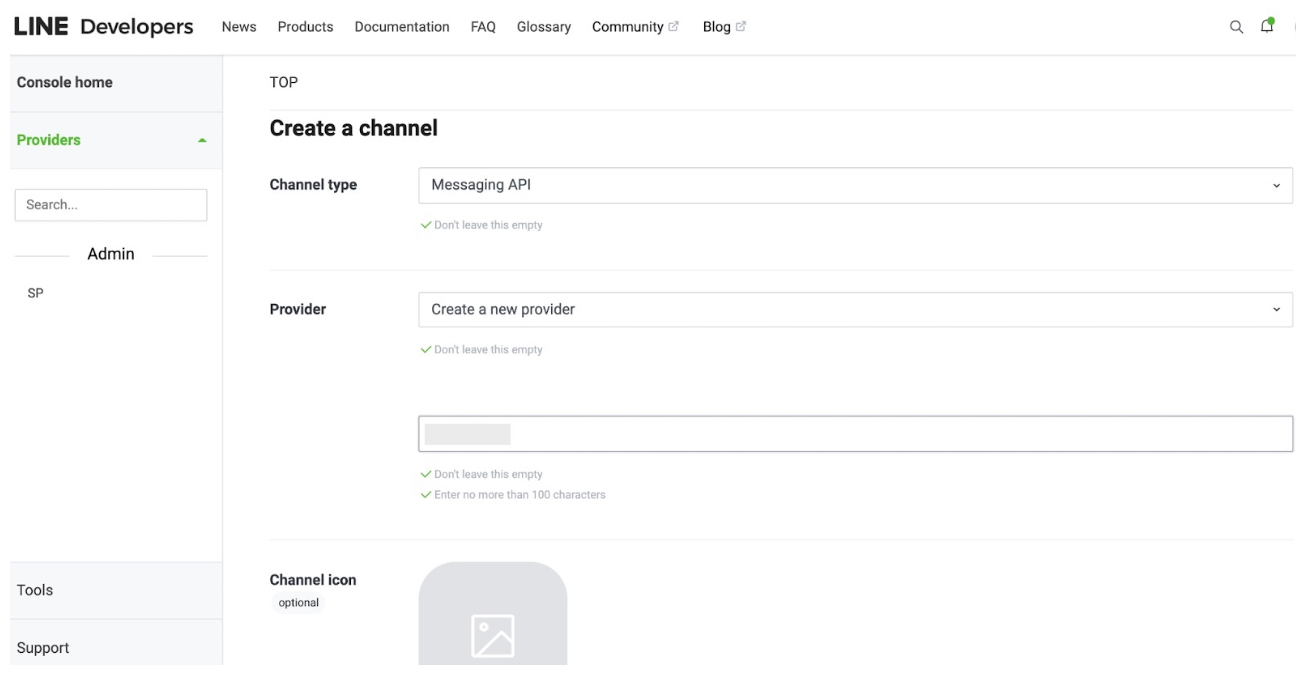
Step 2 : Create a channel
-
In the Provider section, select ‘Create a new provider from the dropdown and enter the provider’s name.
![]()
![]()
- Channel name
- Channel description
- Category
- Subcategory
- Email address
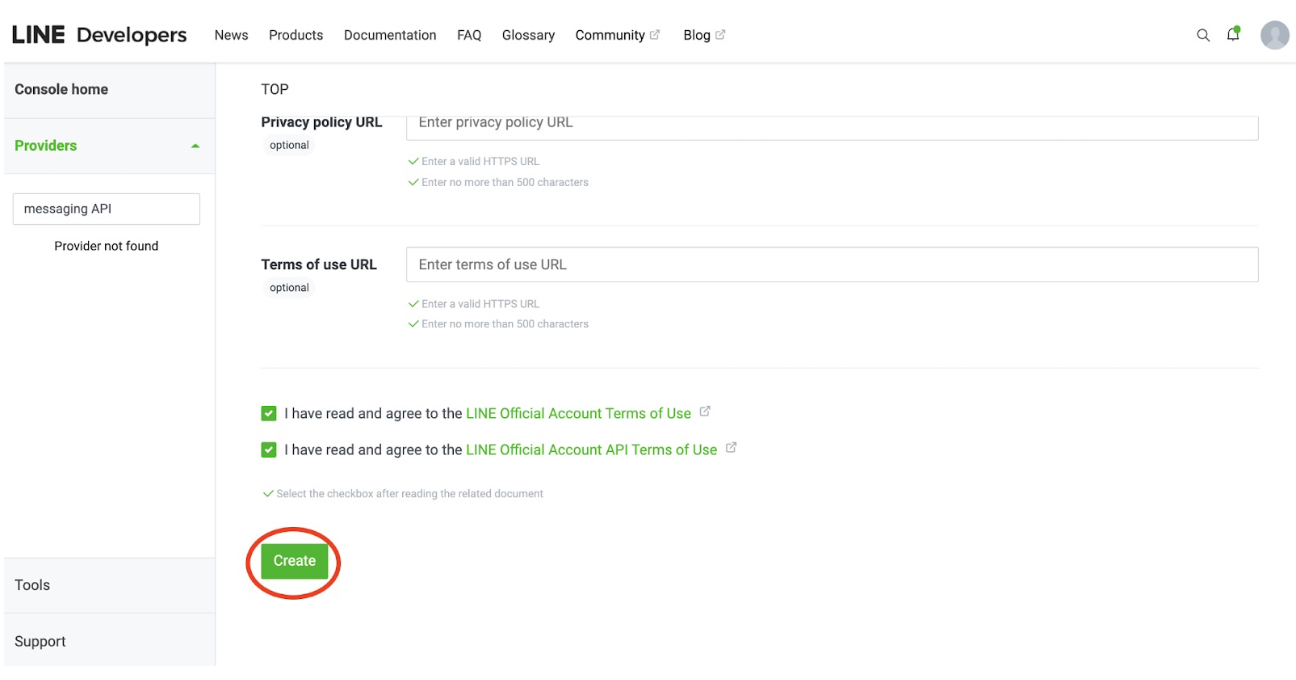
- Click on "I have read and agree to the LINE Official Account Terms of Use" checkbox
-
Click on "I have read and agree to the LINE Official Account API Terms of Use" checkbox
![]()
-
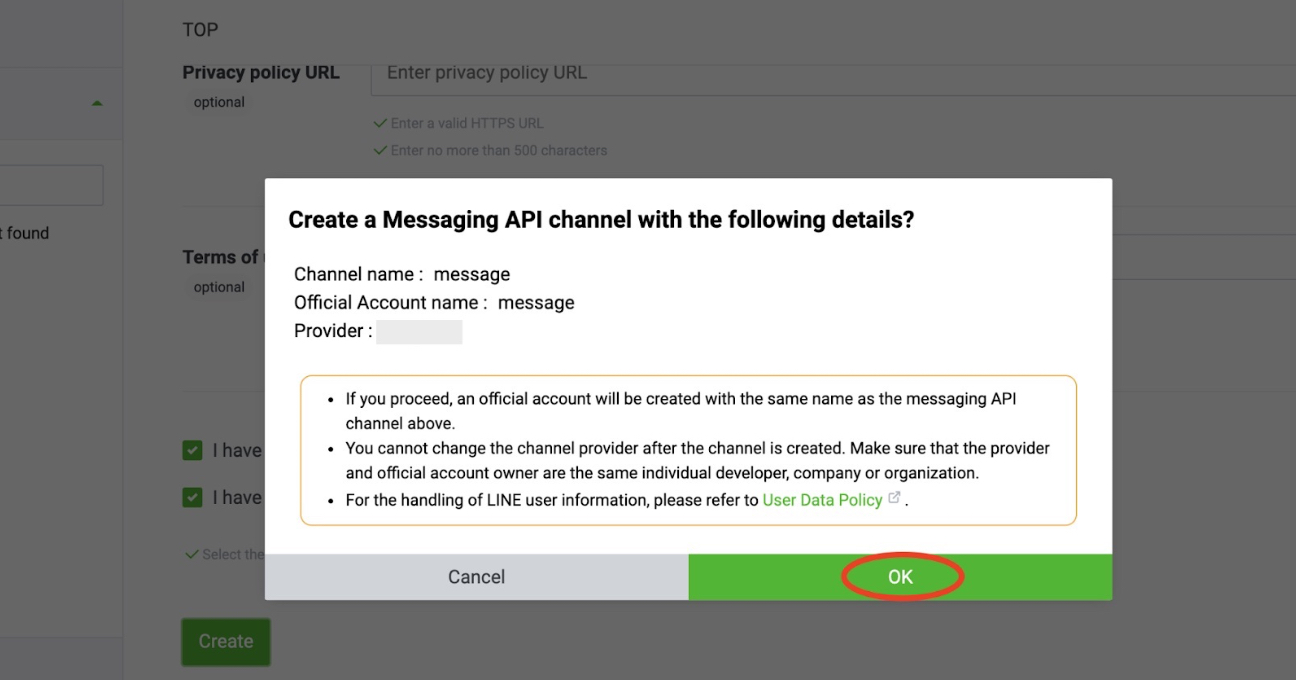
Click on the Create button.
![]()
-
Click on Ok
![]()
Step 3: Configure your channel
Now, select the ‘Messaging API’ tab: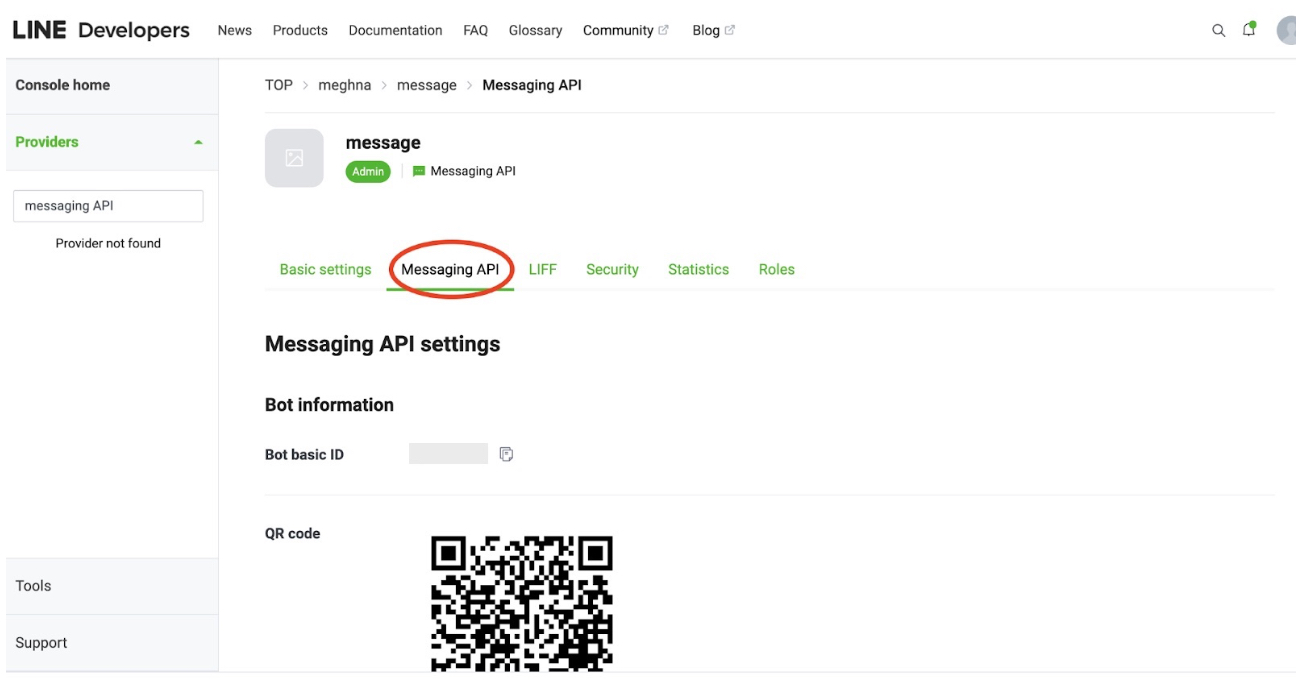

-
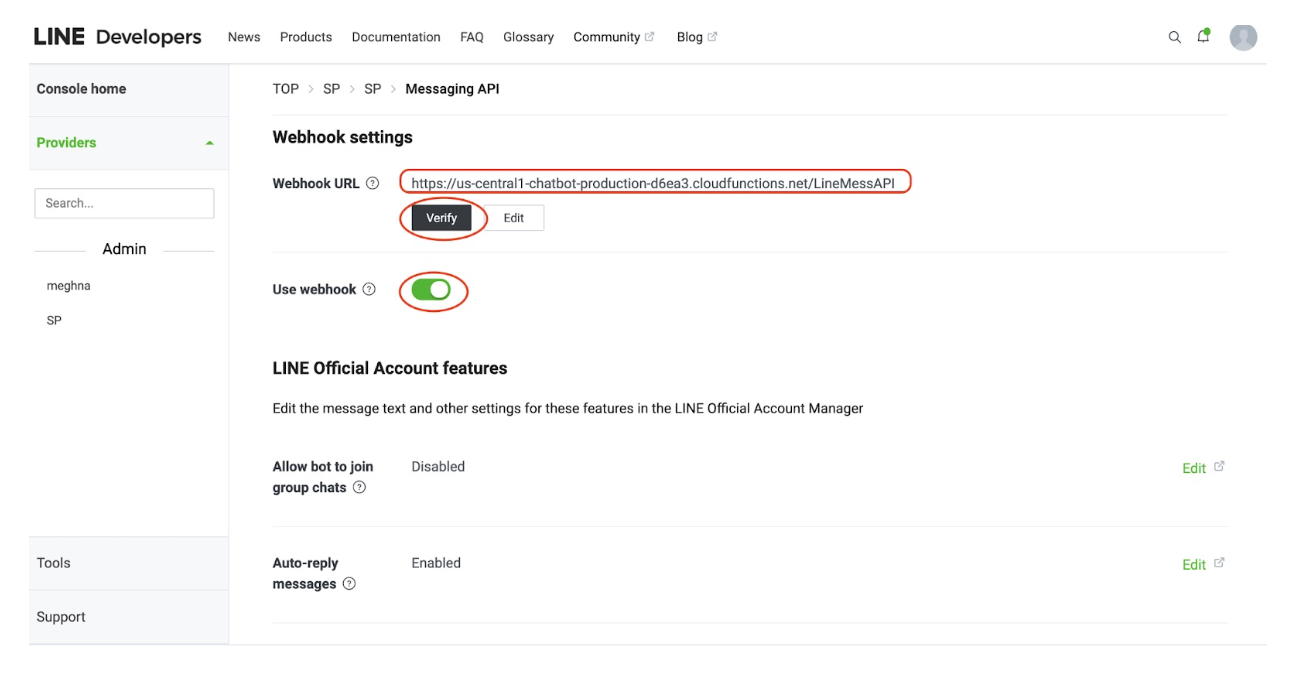
Webhook settings
Click Edit and paste the URL to the ‘Webhook URL’ field. Next, click on the ‘Verify’ button and enable the ‘Use webhook’ toggle button. - Endpoint URL
-
Copy this Webhook
URL: https://us-central1-chatbot-production-d6ea3.cloudfunctions.net/LineMessAPI![]()
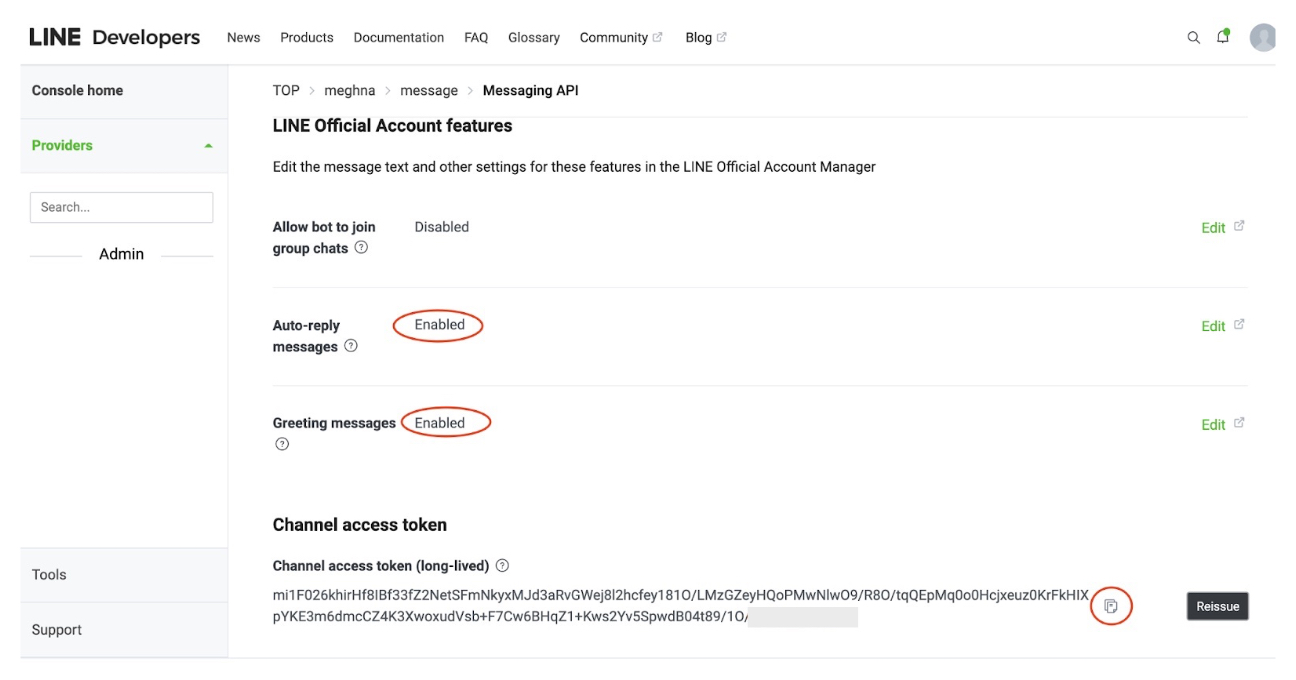
- LINE Official Account features: Disable these features: ‘Auto-reply messages’ and ‘Greeting messages’:
-
Channel access token (long-lived)
Locate the ‘Channel access token (long-lived)’ field and click Issue. If you click "Reissue", select '0 hours'.
Copy the token and paste it into the "Channel access token (long-lived)" field in the 4th step.![]()
Step 4: Add Credentials
-
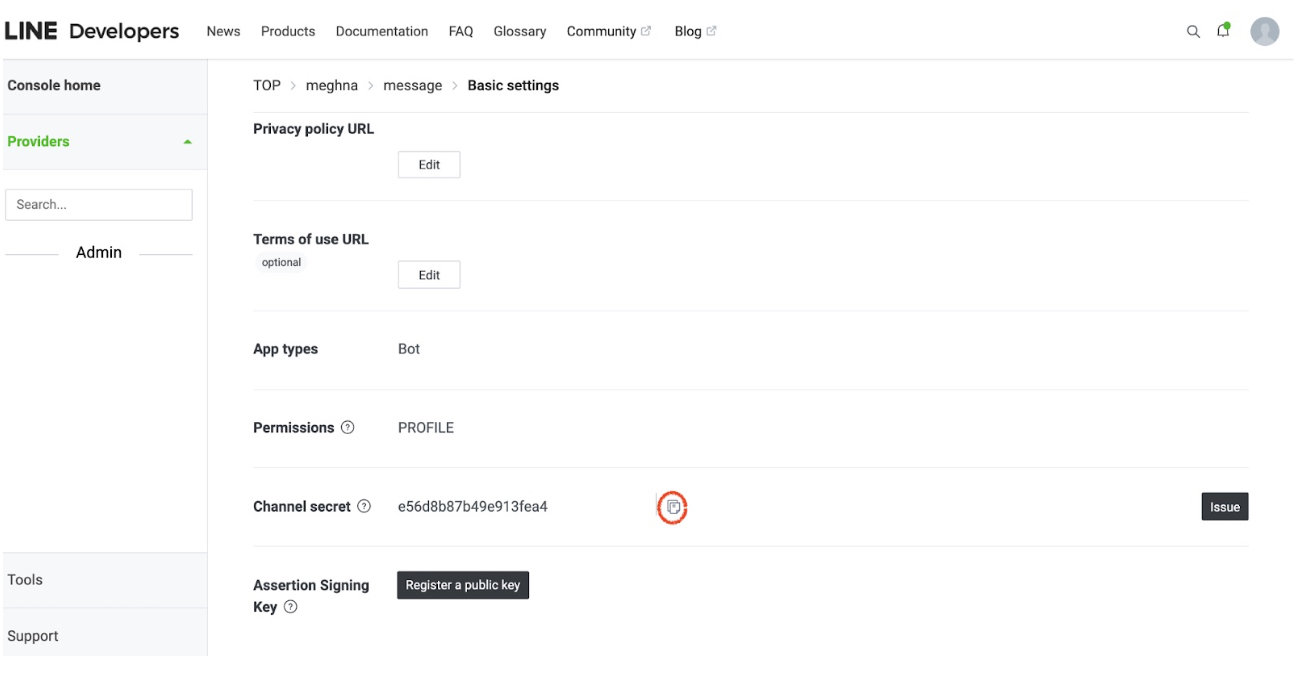
Click on the Basic settings tab
![]()
-
Now locate the "Channel secret" in the Basic settings tab
![]()
-
Now add your Channel secret and Channel access token on the ‘Deploy your bot on a messaging platform - Line’
![]()

Share this :
Was this article helpful?
Thanks for your feedback!
Was this article helpful?
Thanks for your feedback!
×